


DIY Rim Refinishing Techniques Uncovered
Learn the art of DIY rim refinishing with our expert tips to achieve professional-looking results at home.

Whether we like it or not, time eventually takes a toll on our car's rims. Dirt, grime, and the general wear and tear of everyday driving slowly rob them of their luster. But there's good news for wheel enthusiasts everywhere - with the right know-how, you can breathe new life into your rims right at home. Welcome to the art of DIY rim refinishing, a skill that can totally transform your car's aesthetics without breaking the bank. In this post, we'll uncover a few expert tips and techniques to help you achieve professional-looking results.
Inside the Wheelhouse: DIY Rim Refinishing
Refinishing your rims at home isn’t just a great way to save money. It's also an opportunity to express your creativity and add a personal touch to your car. However, achieving a professional, lasting finish requires patience, persistence, and a little bit of technique. So, before you grab that sandpaper and start sanding, let's walkthrough what it takes to properly refinish your rims.
Table of Contents
- Preparation: Clean and Inspect Your Rims
- Choosing the Right Paint for Your Rims
- Understanding the Sanding Process
- Applying the Finish and Final Touches
- Caring for Your Newly Refinished Rims
Preparation: Clean and Inspect Your Rims
When it comes to DIY rim refinishing, the old saying couldn't be more accurate - preparation is key. Before starting the refinishing process, you'll need to thoroughly clean your rims. This is a crucial step as any residual dirt, grime or brake dust can interfere with your new finish.
- Initial Cleaning: Start off with a high-pressure wash to remove loose dirt and grime. You may use a dedicated rim cleaning solution and a stiff brush to scrub away any stubborn debris.
- De-greasing: Next, use a de-greaser to wipe down the rims, ensuring a clean and oil-free surface for paint to adhere.
- Inspection: Once the rims are clean, take some time to conduct a thorough inspection. Look out for any signs of damage such as cracks, scrapes, or deep gouges. These need to be addressed before moving on to the sanding process.
Choosing the Right Paint for Your Rims
When it comes to choosing paint for your rims, you'll want a product that can not only deliver a stunning finish but also endure the rigours of the road. That’s where high-heat automotive paint comes in. This variety of paint is specially designed to withstand high temperatures and harsh environmental conditions, making it perfect for your rims. However, keep in mind there's a wide range of colors and finishes available, so don't be afraid to go bold and experiment with different looks.
Remember: The better the quality of paint you choose, the longer your rims will maintain their new look.
A Quick Note on Clear Coat
Once you've chosen your paint color, be sure to pick up a can of clear coat. This transparent layer serves a dual-purpose. It adds an additional layer of sheen to your rims, and also acts as a protective layer against the elements. "A good quality clear coat not only enhances the visual appeal of your rims but also extends the lifespan of your paint job,” explains a seasoned wheels expert.
Understanding the Sanding Process
The sanding process can appear intimidating, but take heart - with patience, practice, and a few key steps, you can get it done with flair.
- Coarse Sandpaper: Start with a coarse-grit sandpaper (about 400 grit) to remove the existing paint and roughen up the surface. This process helps to create a better surface for your paint to adhere.
- Fine Sandpaper: Gradually move on to a finer grit sandpaper (around 1000 grit). This will smooth out the surface, prepping it for the primer and paint. After sanding, wipe down the rims to clear away the dust.
Pro Tip: While sanding, take your time, and always sand in one direction. A rushed or haphazard approach can lead to uneven surfaces and visible scratches on the finished rims.
Applying the Finish and Final Touches
With the cleaning, painting, and sanding out of the way, it's time for the real magic to begin; applying your chosen paint and the subsequent clear coat. As with the preceding stages of refinishing, these steps also require patience and precision.
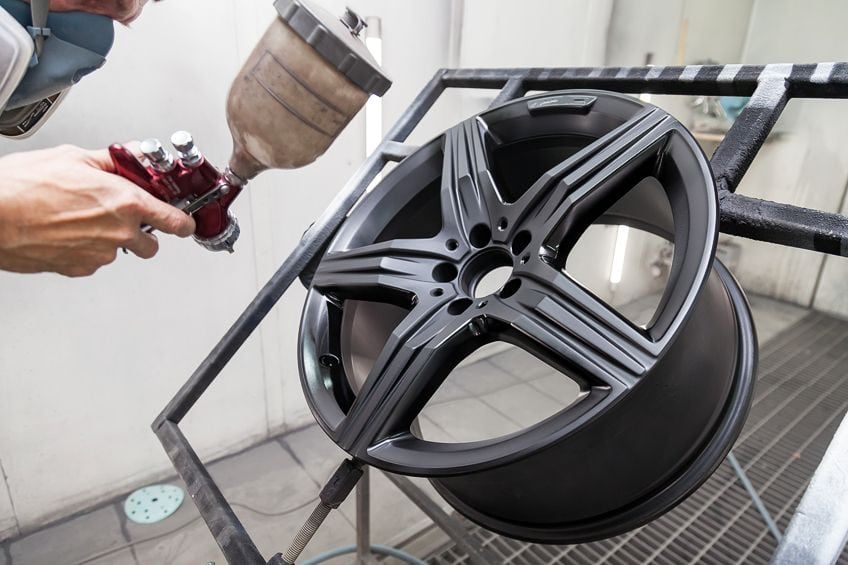
1. Applying the Paint:
Now comes the time to apply your chosen paint. Start by shaking the canister well and spraying a thin, even layer onto the rims. It's better to go with multiple light coats rather than a single, heavy one. Tip: Spray at a distance of about 10-12 inches to prevent drips and ensure uniform coverage.
2. Clear Coat Application:
Once you're happy with the paint job and it's dried completely, apply a layer of clear coat. This will protect your rims from wear and give them an extra shine. Apply evenly and allow plenty of time for each coat to dry before adding another.
Caring for Your Newly Refinished Rims
Now that you've breathed new life into your rims, it's essential to keep them looking their best. Let's explore a few simple but effective methods of caring for your newly refinished rims:
- Regular Cleaning: Maintain a routine of cleaning your rims at least once every two weeks. This helps prevent the build up of dirt, salt, and brake dust which can degrade the clear coat over time.
- Use a Rim Protectant: Applying a rim protectant can offer an additional layer of resistance against scratches, harsh weather conditions, and wear.
- Avoid Harsh Cleaning Agents: When cleaning your rims, avoid abrasive cleaning solutions and tools which can damage the finish. Instead, use mild soaps or dedicated wheel cleaners and a soft sponge or microfiber cloth.
Conclusion
Restoring the pristine look of your aging rims doesn't require a trip to the professionals or a hefty investment. With the right tools, a bit of elbow grease, and the guiding steps we've covered in this article, you can master the art of DIY rim refinishing. Not only does this skill save you money, but it also enables you to add a touch of personal flair to your car. Remember, practice makes perfect. So, don't be discouraged if your first attempt doesn't yield showroom quality results. Just keep learning, improving, and enjoying the process.
What's Your Reaction?


